|
|
|
|
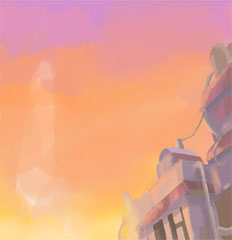
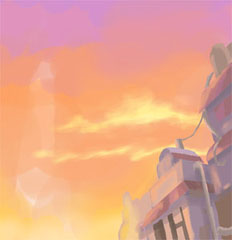
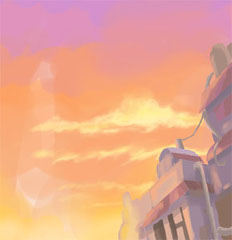
Background Painting Tutorial 5. Effects Just a few more odds and ends. I usually leave clouds until this stage; just a preference really. Clouds are pretty easy once you get the hang of them, but there's a lot more to them than blobby airbrushing...
As for effects, I added light rays from the street light and some slight glows to some of the windows. I also adjusted the saturation a little as I wanted the sky a little brighter. Generally it's a good idea to have a play around with adjustments such as contrast/brightness and hue/saturation/lightness, but don't overdo them too much. Resize and save your work and... 
...all finished!
|
|||||||||||||